
|
Home
| pfodApps/pfodDevices
| WebStringTemplates
| Java/J2EE
| Unix
| Torches
| Superannuation
|
| About
Us
|
|
|
Adafruit WICED and pfodDesignerV2™
|
by Matthew Ford 10th June 2018 (originally
posted 15th November 2016)
© Forward Computing and
Control Pty. Ltd. NSW Australia
All rights reserved.
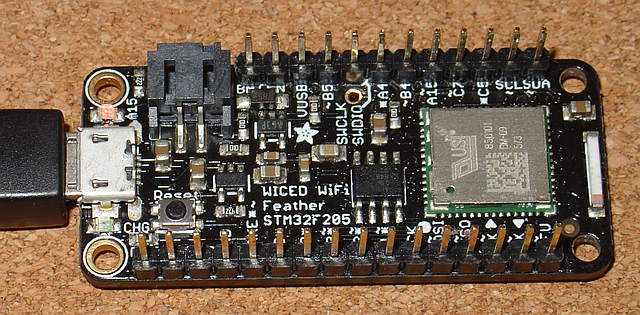
Adafruit Feather WICED board has a STM32F205 ARM Cortex M3 processor running at 120MHz together with a Cypress WICED Wifi module. It is programmed using the Arduino IDE using Adafruit WICED board add-on.
However the “chipset is not identical to the Arduino standard-supported Atmega series and many libraries that are written for AVR will not compile or work with WICED”. Some of the methods are named differently, there are special pinModes, a specialized Wifi library and even the pin names are completely different.
The free pfodDesignerV2 (V2.0.2213+) can help you get started with WICED even if you don't intend to use pfodApp. The free pfodDesignerV2 Android app will generate code for the WICED that lets you use your Android mobile to :-
turn WICED outputs on and off,
read WICED inputs,
control WICED pwm outputs
read WICED analog inputs
create a Wifi server to accept connections
and display and plot these values.
While the generated code is designed to work seamlessly with pfodApp to let you control and log data from your WICED, the code generated is well commented and easy to hack for your own purposes if you are not using pfodApp. The advantage of using pfodDesignerV2 is that it has context sensitive menus for choosing WICED pins to control or read. If you are setting a PWM output only those board pins that support PWM are displayed in the selection menu. Then when the code is generated the correct code name for that pin is inserted in the generated code.
There are many other tutorials on using pfodDesignerV2 to create Android menus for pfodApp which cover text and display formatting. This tutorial will cover which menu items can be used to control and read WICED pins. As a particular example we will generate an Android menu to control the WICED Led via PWM.
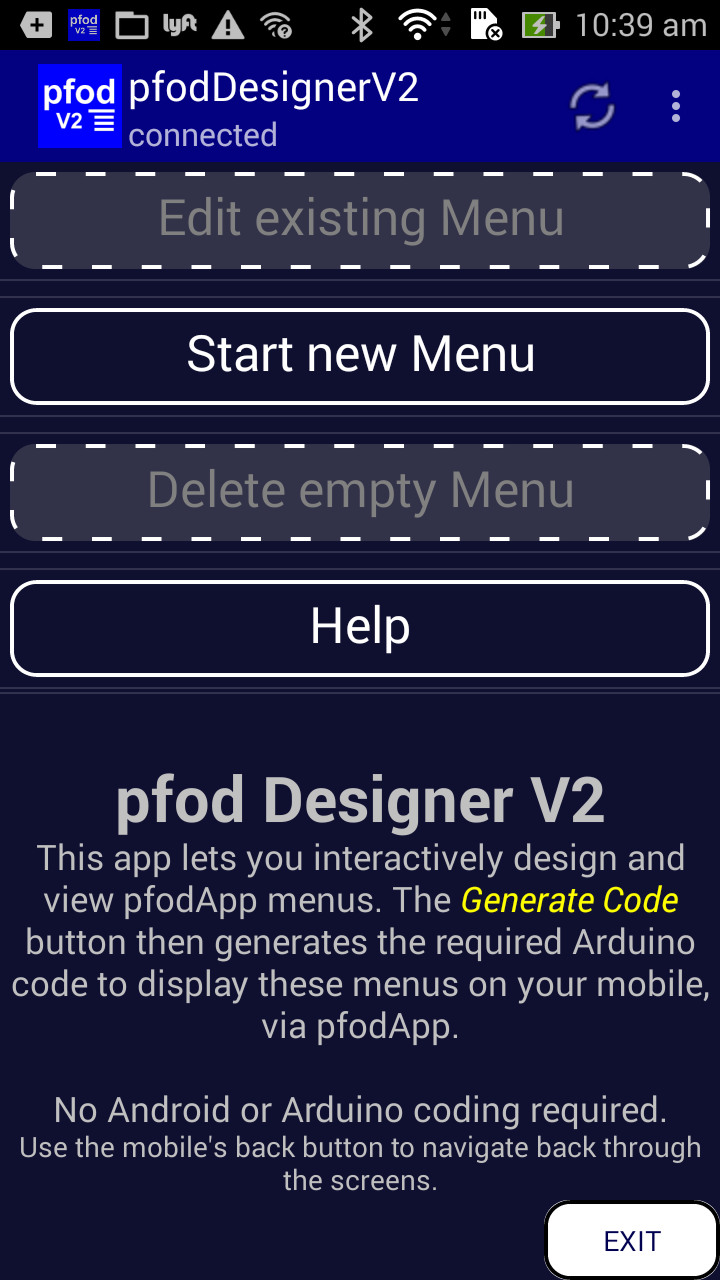
Install the free pfodDesignerV2 from the Google Play Store and click Start New Menu
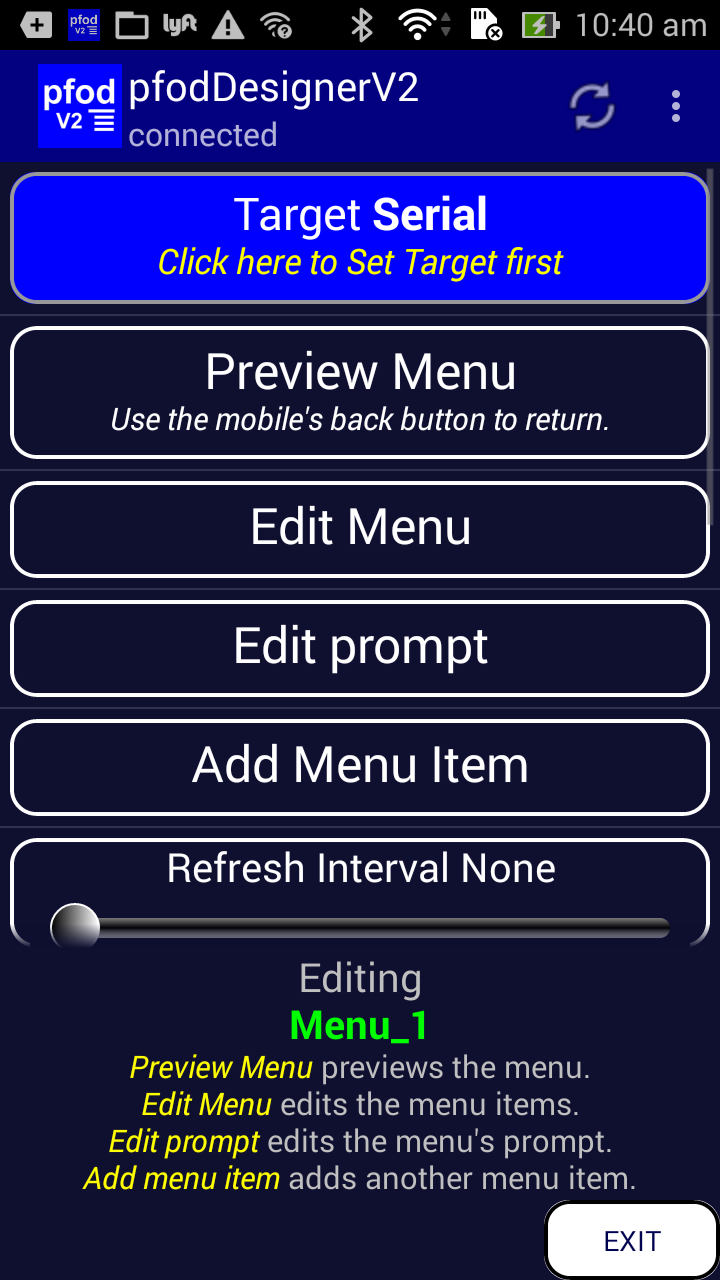
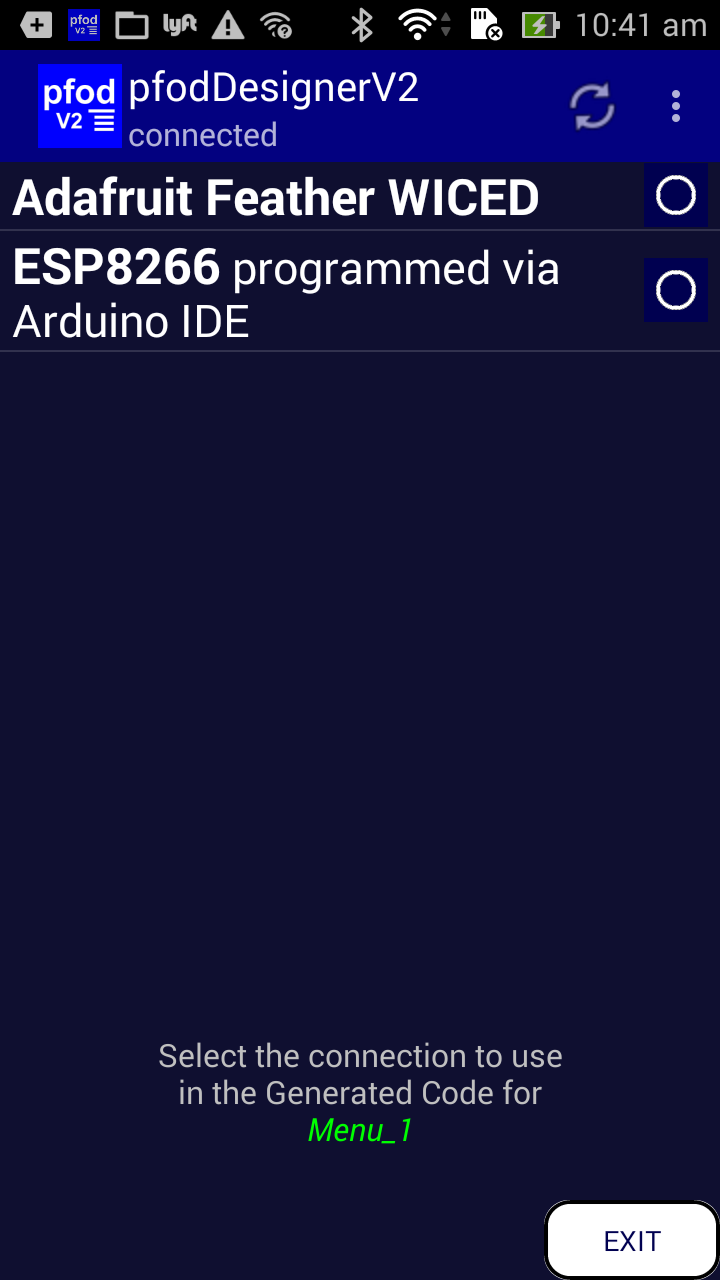
Then click Target button to change the target and choose Wifi targets and select Adafruit Feather WICED.

Use your mobile's back button to get back to the Editing Menu_1 screen.

Click on Add Menu Item to get a list of items you can add. Scroll down for more options.
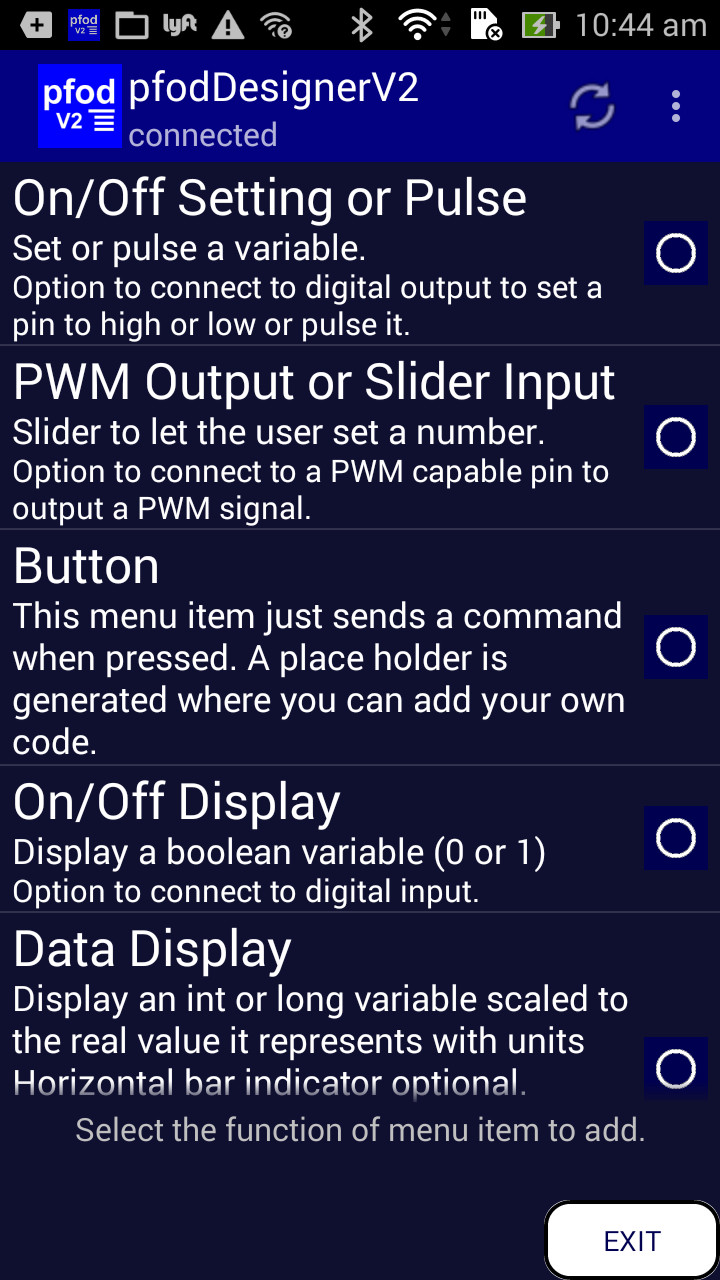
Four (4) menu items can be connected to a WICED board pin these are:-
On/Off Setting or Pulse lets you turn a digital output on or off (or pulse it),
PWM Output lets you control a PWM output,
On/Off Display lets you read a digital input and
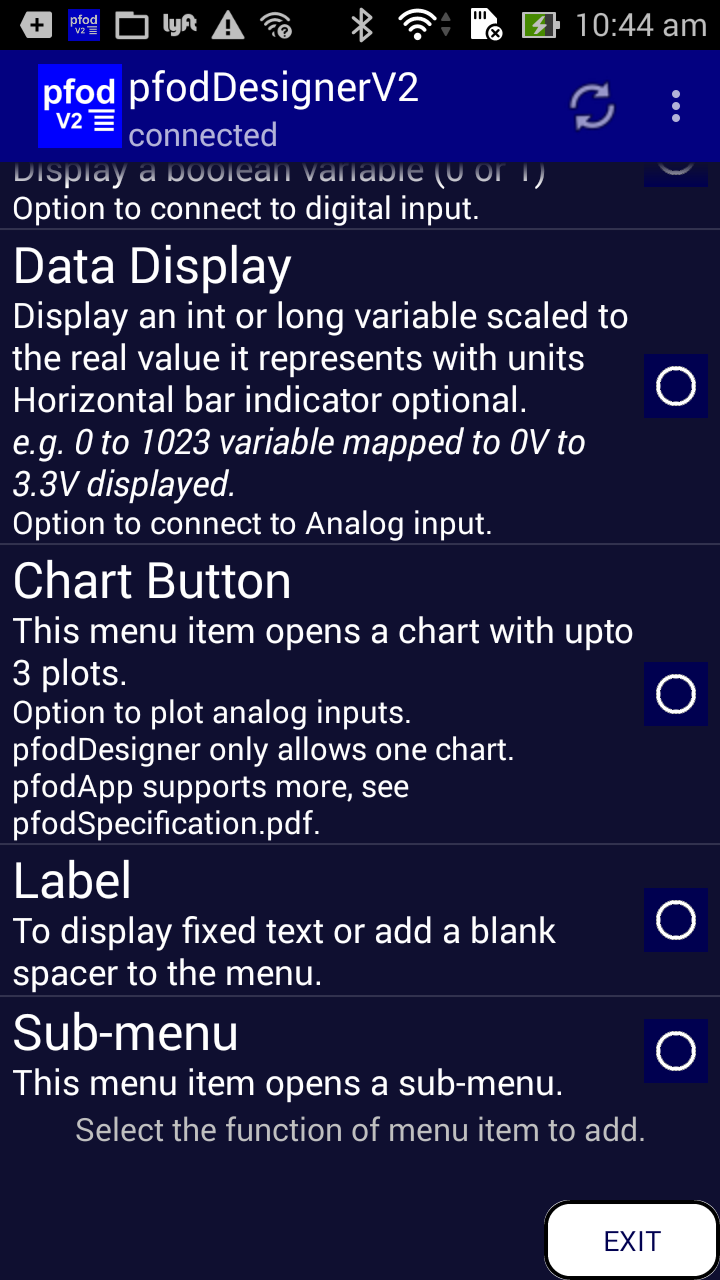
Data Display lets you read an Analog input.
By
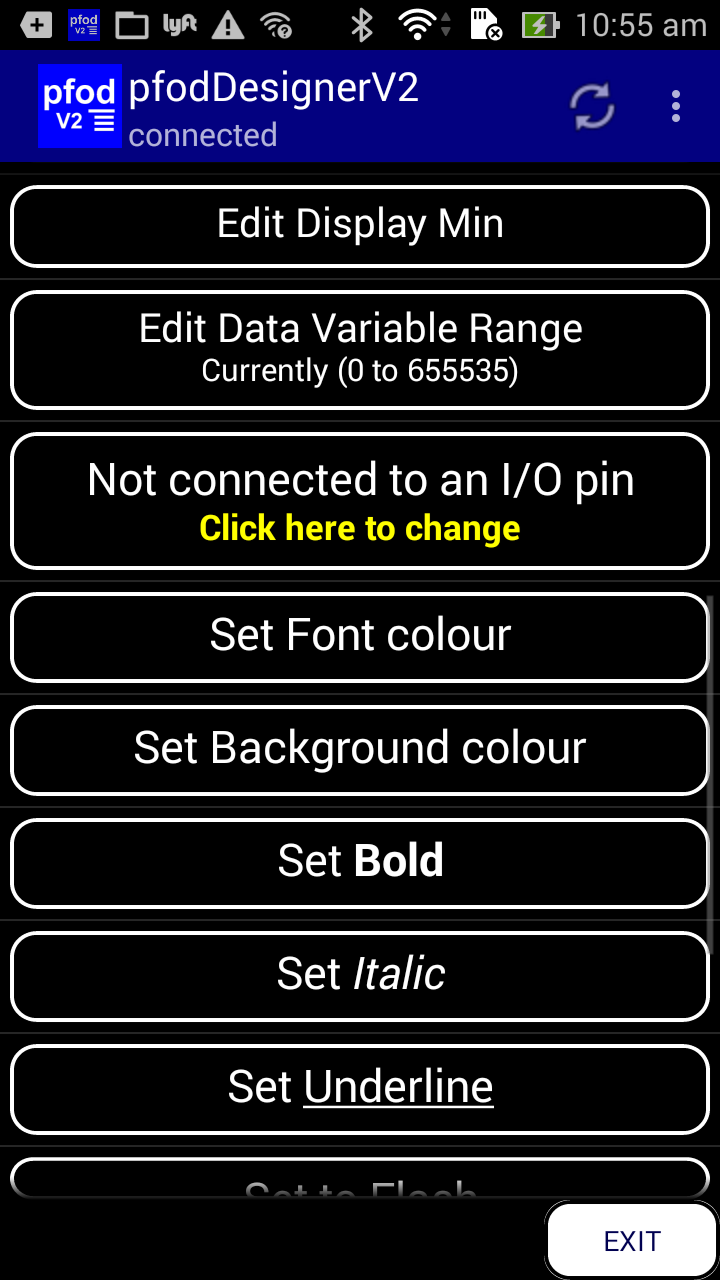
default each of these are not connected to any board pin so after
selecting one you need to scroll down and choose the Not
connected to an I/O pin Click here to change
to
display a list of unused board pins that support that type of
operation.
As an example of working with a WICED board pin, click on the PWM Output or Slider Input menu item to add it. This then shows list of options for this menu item.
To connect this menu item to a WICED board pin to control the PWM output, scroll down to the Not connected to an I/O pin button and click on it.
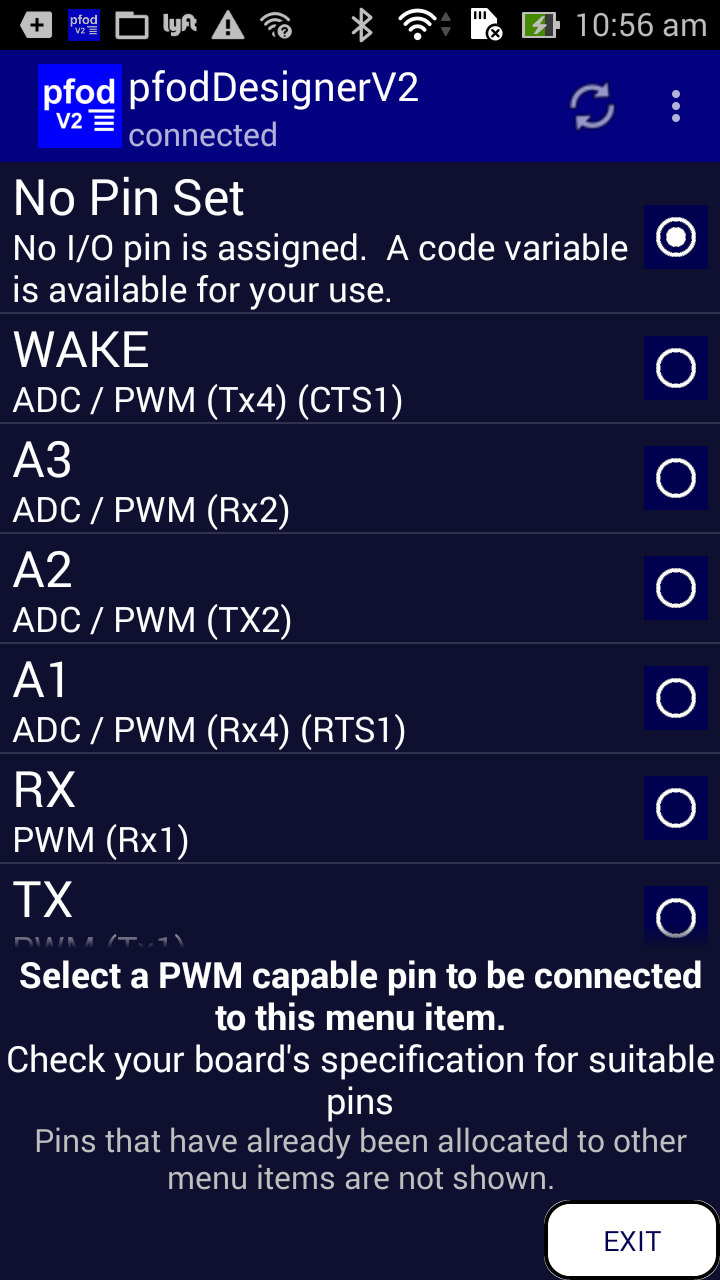
This lists only those WICED board pins that have PWM capabilities and have not already been assigned to another menu item. If you added a Data Display menu item, then this list would only include those pins that supported ADC.
Notice that most of the WICED board pins have multiple uses. Scroll down to find the LED pin A15.
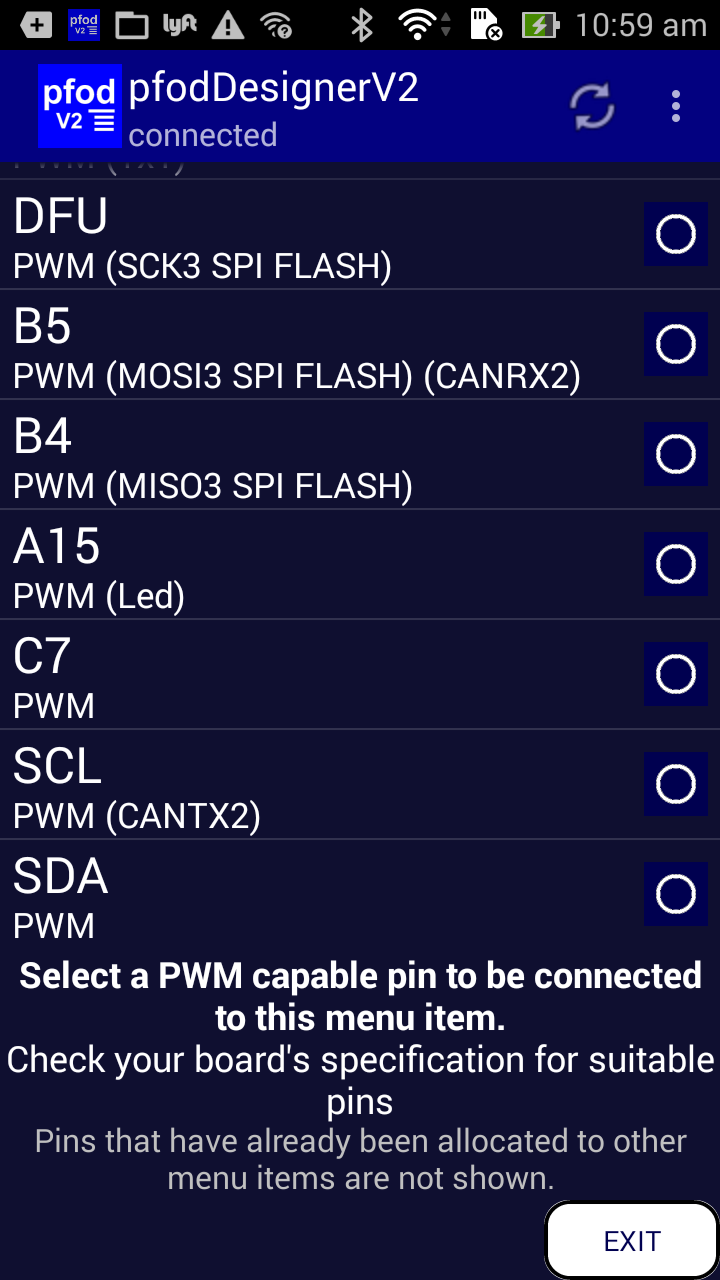
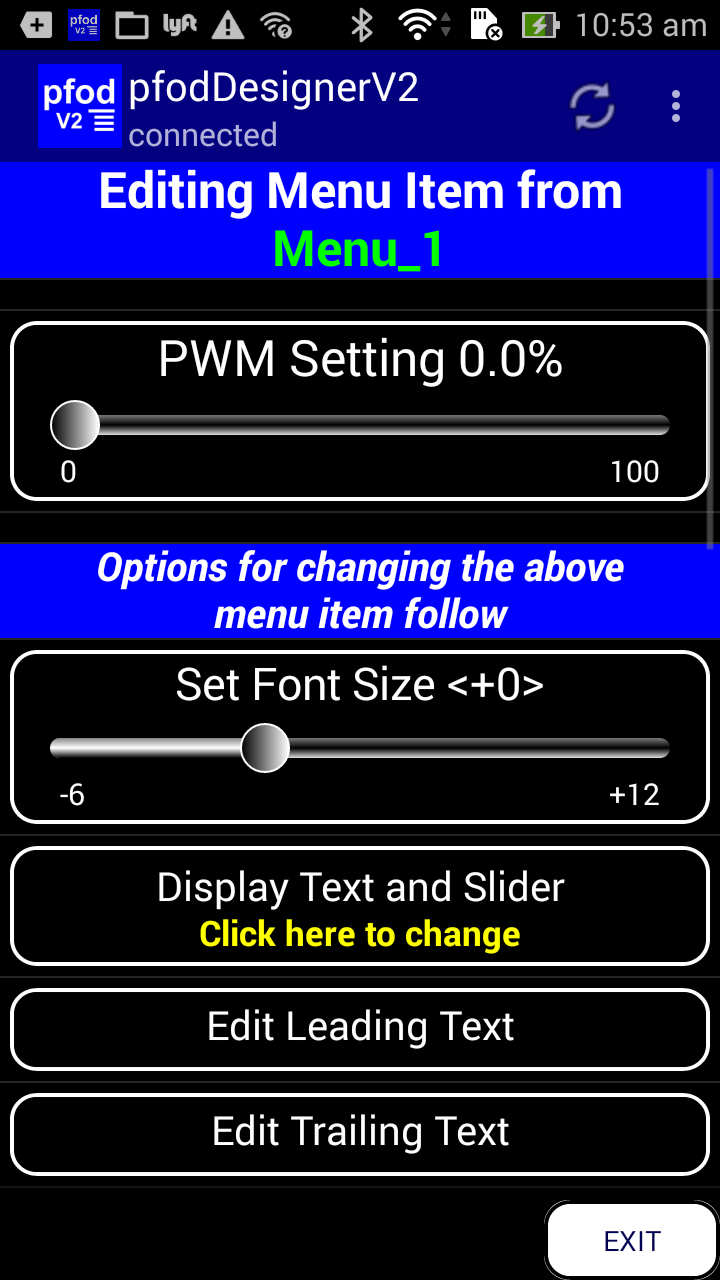
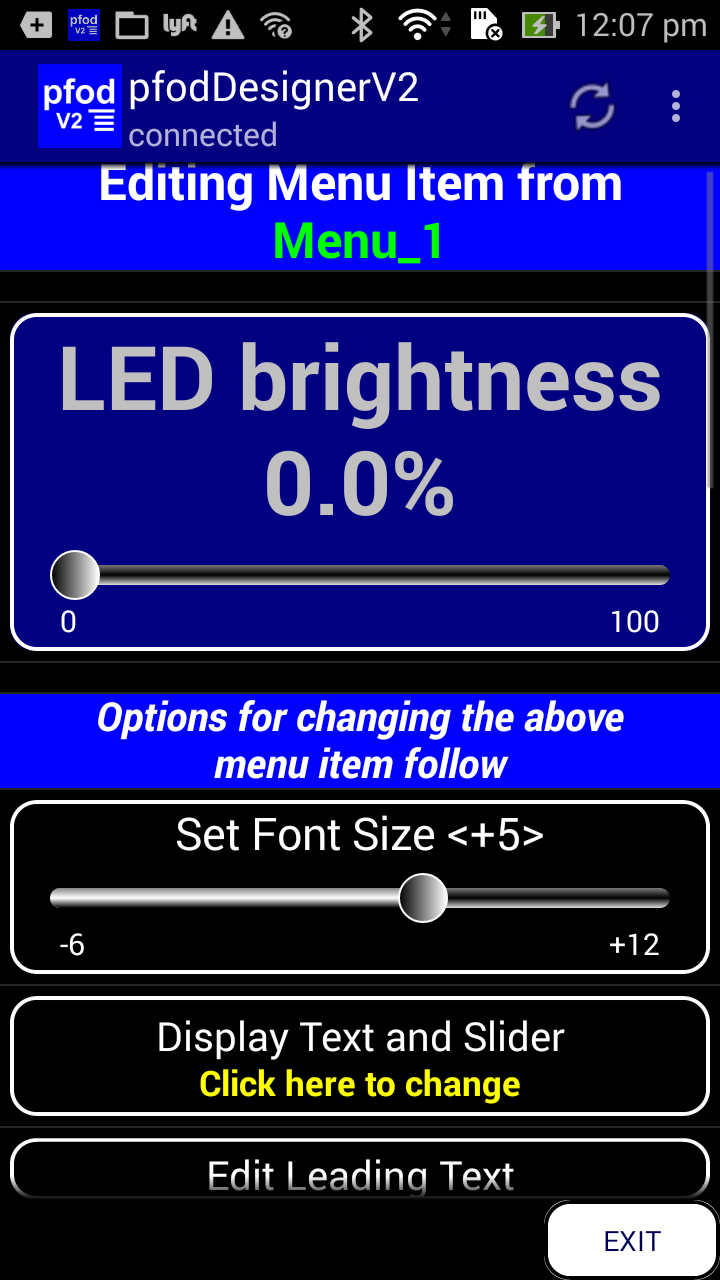
Select A15 to connect this menu item to that pin. This returns you to the Editing Menu Item screen. There are lots of formatting choices you can make for this menu item. You can change the range of the slider from the default 0 to 100% to what ever range and units you need, for example 0 to 3.3V See this tutorial on using pfodDesignerV2 with the BBC micro:bit for a detailed example of formatting.
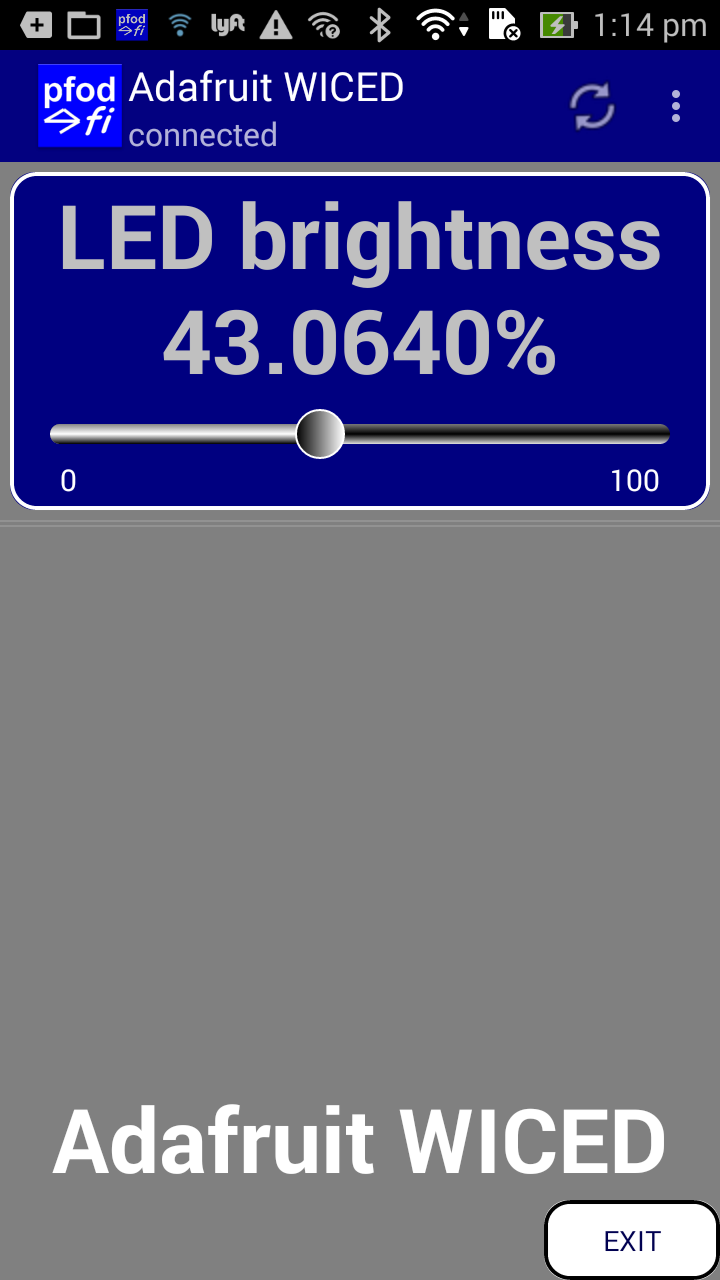
For this example we will leave the slider values as 0 to 100% and just change the leading text, font size and colours. The preview of the menu item updates to reflect these changes.
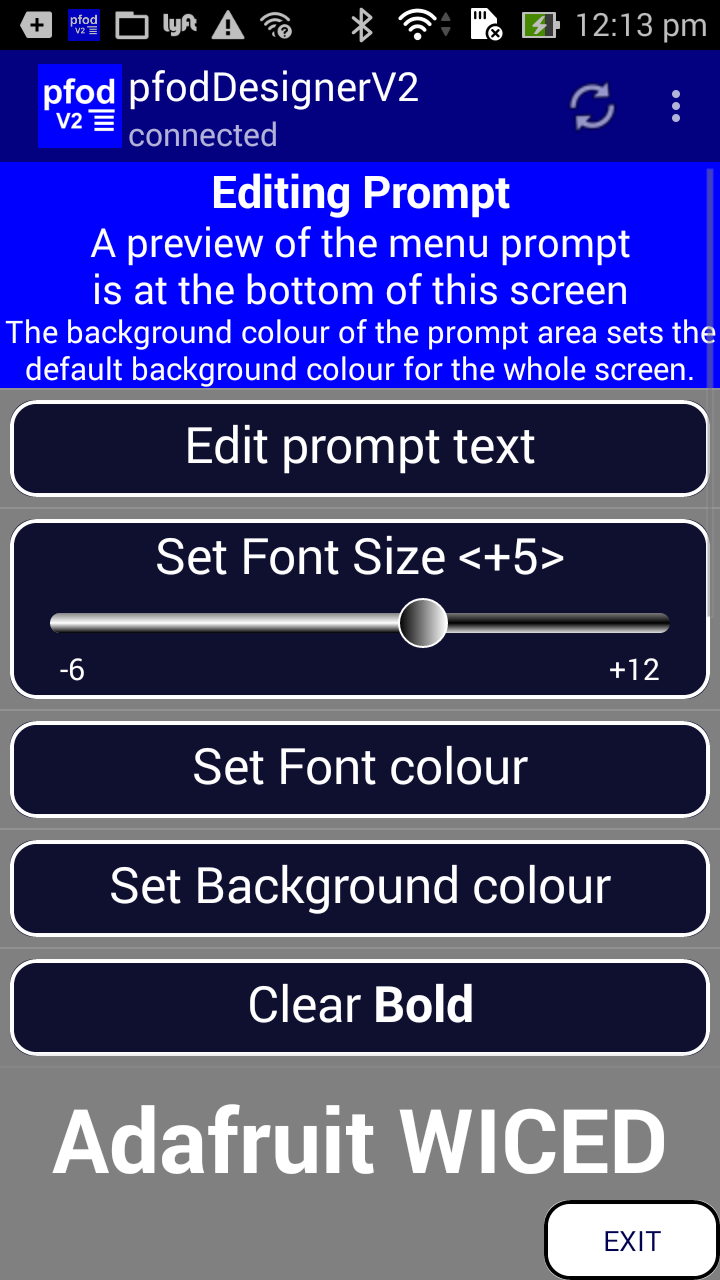
To complete the menu design Edit prompt to add a menu prompt “Adafruit WICED” and format it. The prompt preview is shown at the bottom of the screen.
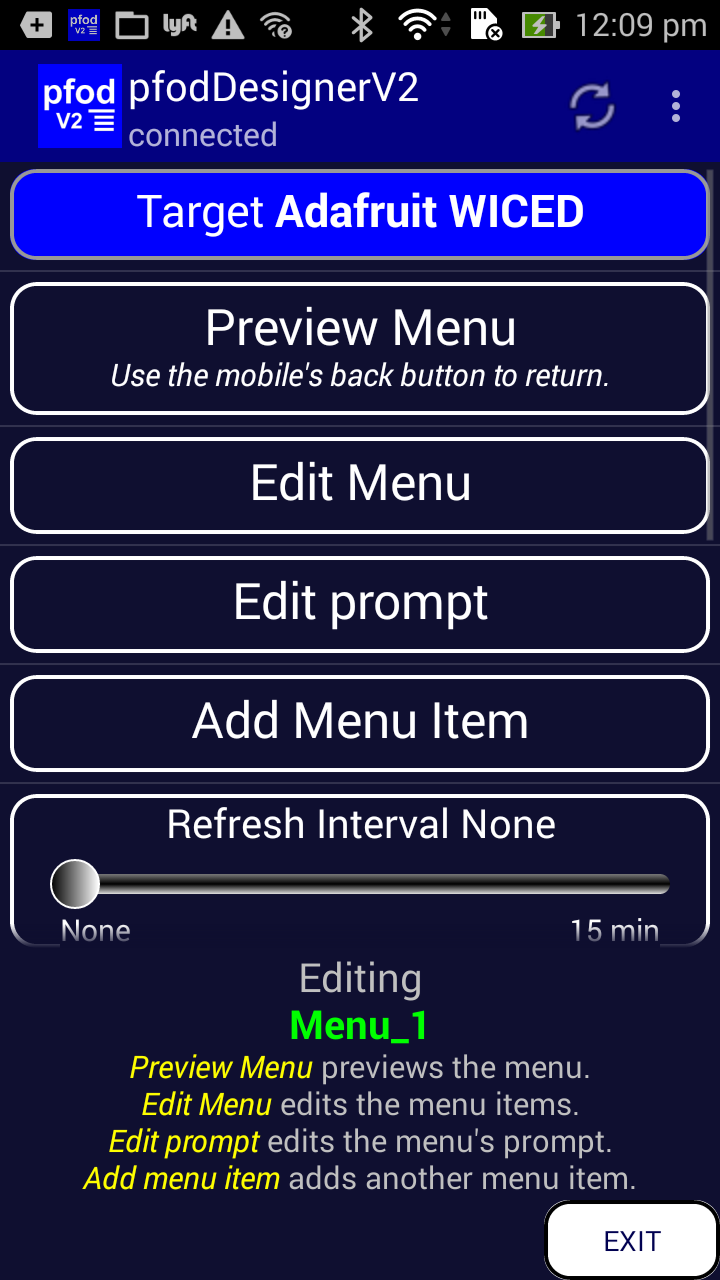
Finally you can preview the final men design by going back to the Editing Menu_1 screen and selecting Preview Menu.

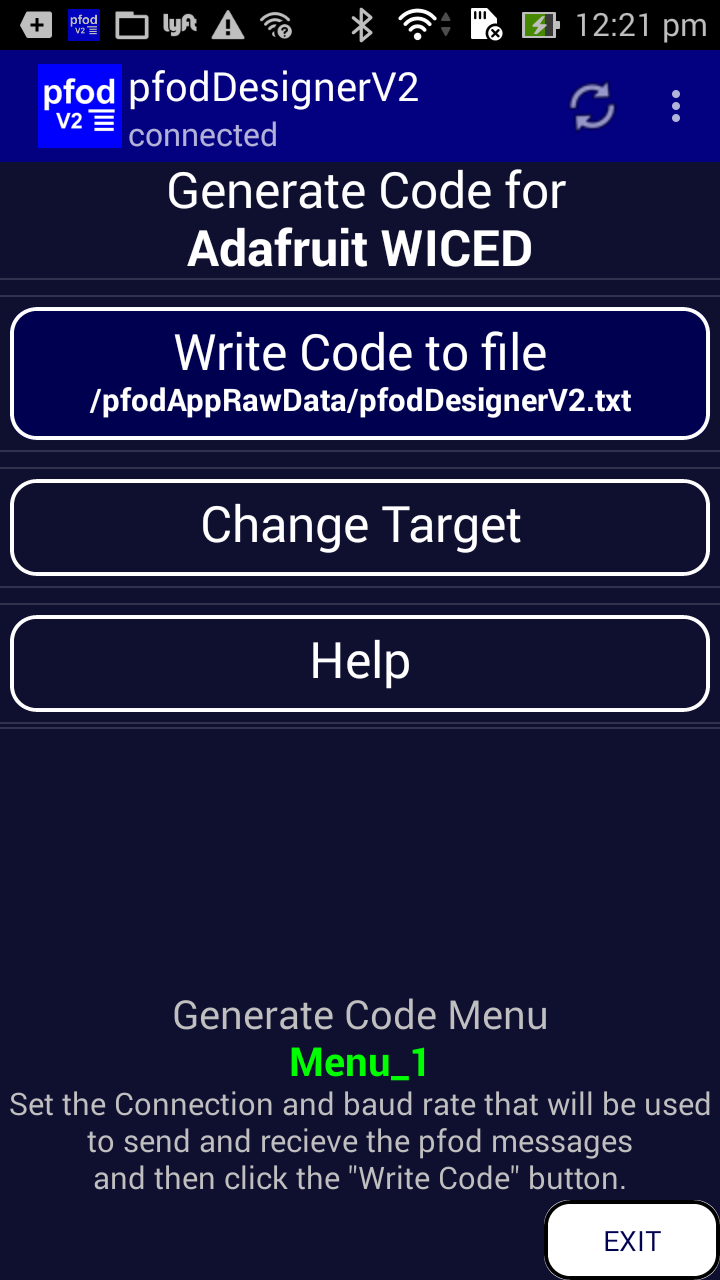
To generate the code for Adafruit WICED, go back to Editing Menu_1 and scroll down and select the Generate Code button. The click the Write Code to file button to generate the code file.

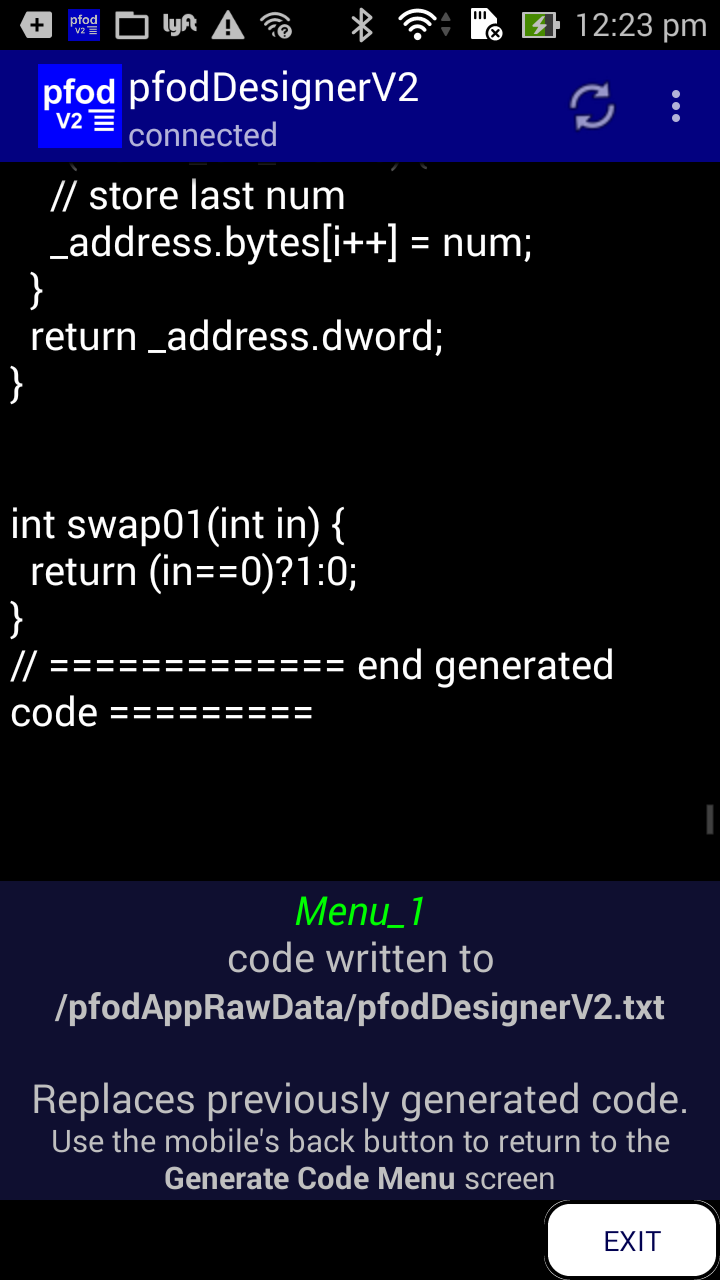
Transfer the /pfodAppRawData/pfodDesignerV2.txt file to your computer either via a USB connection or using a Wifi File Transfer app. Here is a copy of the generated code.
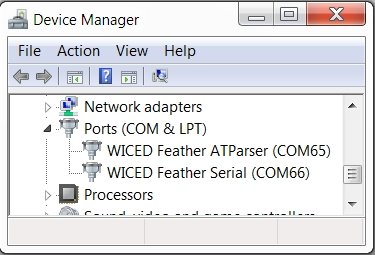
Note about Adafruit WICED Com ports:- When you connect Adafruit's WICED you will see two com ports in the Arduino IDE. You need to select the 'Serial' one for programming and the Serial Monitor. On Windows you can check in the Device Manager to see which is which.
Open that file and copy and paste it into the Arduino IDE, setting your Wifi network ssid and password and a static IP, lets you program your WICED to be connect to your local wifi network and connect with pfodApp to show the menu designed and to control the WICED led from your Android mobile. See pfodAppForAndroidGettingStarted.pdf for how to setup a Wifi connection in pfodApp
Because the WICED's pwm control ranges from 0 to 65535 for 0 to 100%, the pfodApp slider automatically displays extra precision in the % number.
Looking at the generated code you can see how pfodDesignerV2 converts the board names to the correct code values.
const int cmd_A_pin = PA15; // name the output A15 for 'LED brightness'and correctly sets the pinMode for PWM use
pinMode(cmd_A_pin, PWM); // output for 'LED brightness' finally pfodDesignerV2 generates the correct method call in the loop() to set the pwm output
pwmWrite(cmd_A_pin,cmd_A_var); // set PWM outputThis tutorial used the free pfodDesignerV2 to generate code for Adafruit WICED that controls the board LED via pwm. The required WICED code is significantly different from other Arduino boards. Even if you don't intend to use pfodApp to control your WICED, the pfodDesignerV2 can give you a quick start in generating the correct code to connect to your Wifi network and start a server and create code for turning digital outputs on and off, controlling PWM outputs, reading digital inputs and reading analog inputs.
AndroidTM is a trademark of Google Inc. For use of the Arduino name see http://arduino.cc/en/Main/FAQ
The General Purpose Android/Arduino Control App.
pfodDevice™ and pfodApp™ are trade marks of Forward Computing and Control Pty. Ltd.

Contact Forward Computing and Control by
©Copyright 1996-2020 Forward Computing and Control Pty. Ltd.
ACN 003 669 994